********
Hi all in mamaTAVEland, it’s Tessa from Baby.Got.Craft. Initially, I started this first project solely for the purpose of entering it here (ends tomorrow 4/2)…

As my wheels turned, I decided on this fun Spring project, and I knew it was perfect for my guest post on Tave’s blog. You all may hear about her natural, organic ways…..but did you know she has a secret spot for these?
Don’t get me started on the ingredients! And, I won’t even mention how back in the day, she could pack away a Big Mac meal, with an EXTRA burger on the side.
So, I sifted through my growing stash, and busted into a few supplies I had reserved for upcoming projects (which may, or may not happen). Then, I picked up the wire hanger off of the dining table from my Hub Dub’s dry cleaning – seriously, put those things away!
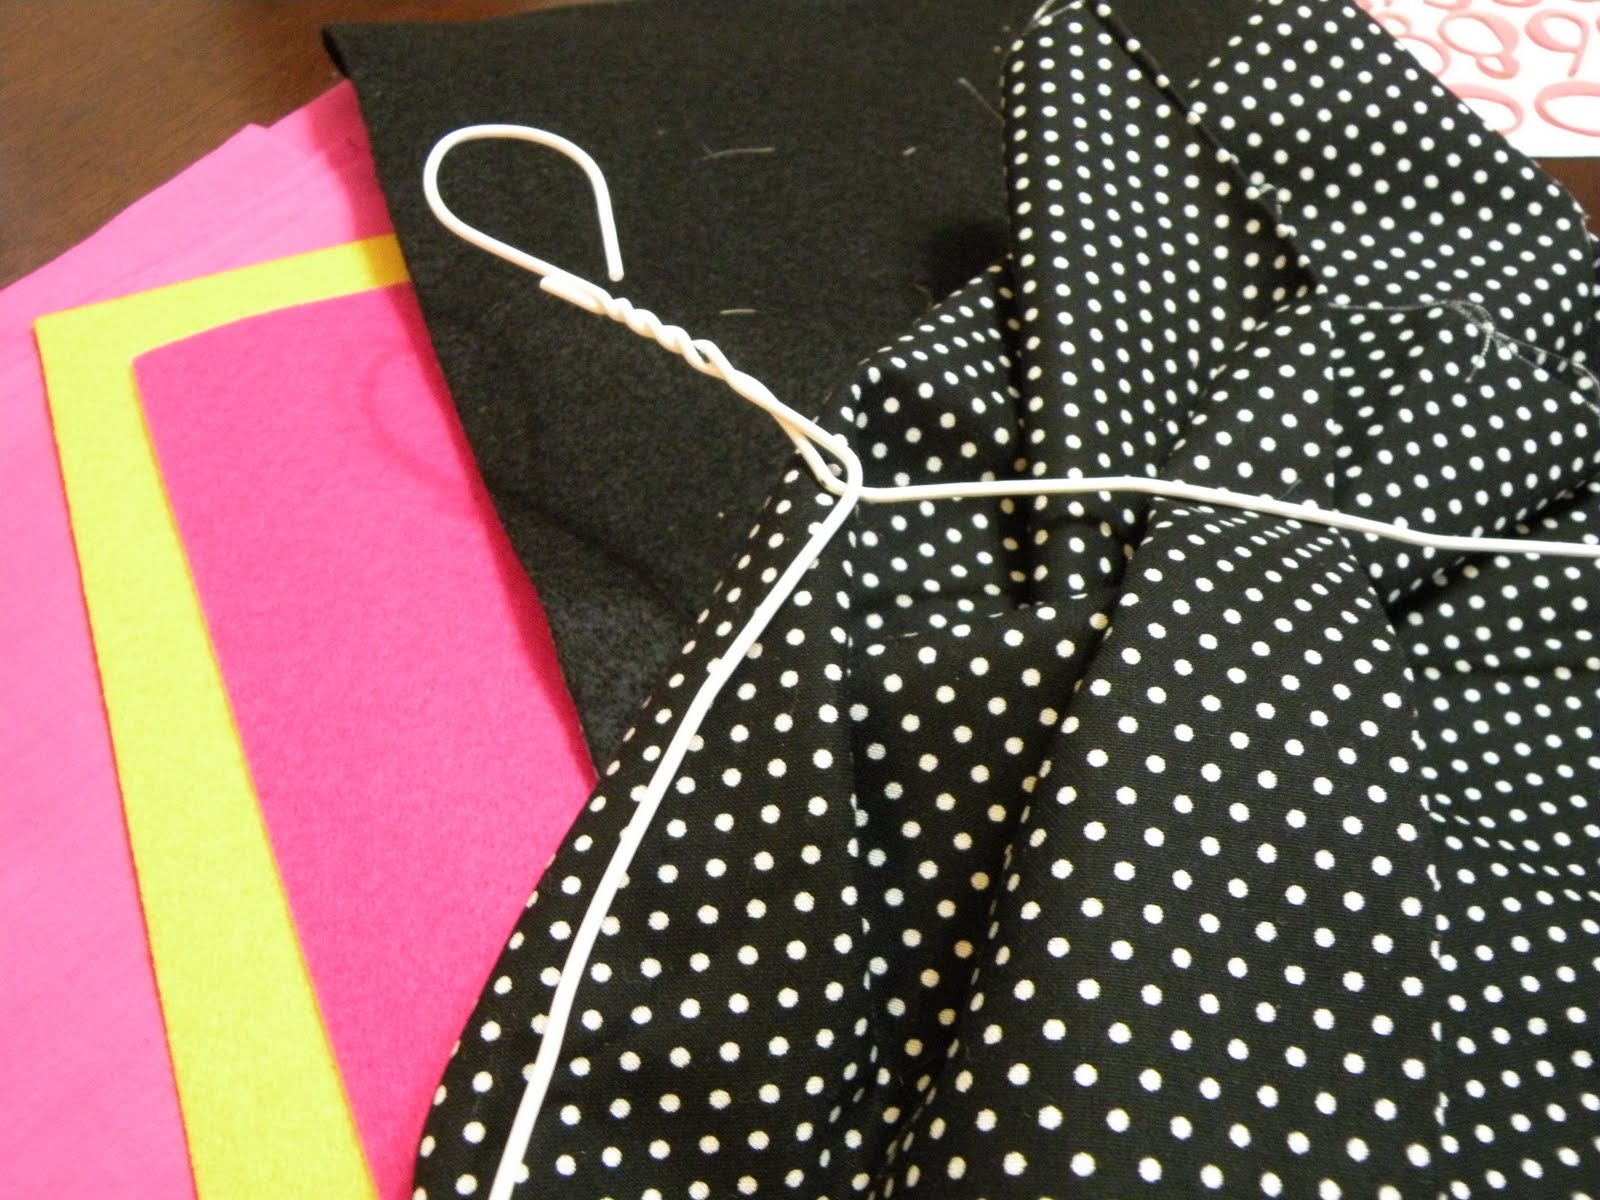
After bending the hanger into a semi-wreath formation, I sat down with a cup of tea, and some prime-time TV …folded one side of the fabric around the hanger, and started hand-stitching. It sat like this for at least 3 days…

Then, I took your average black felt square, and placed some stickers from my stash, as such…
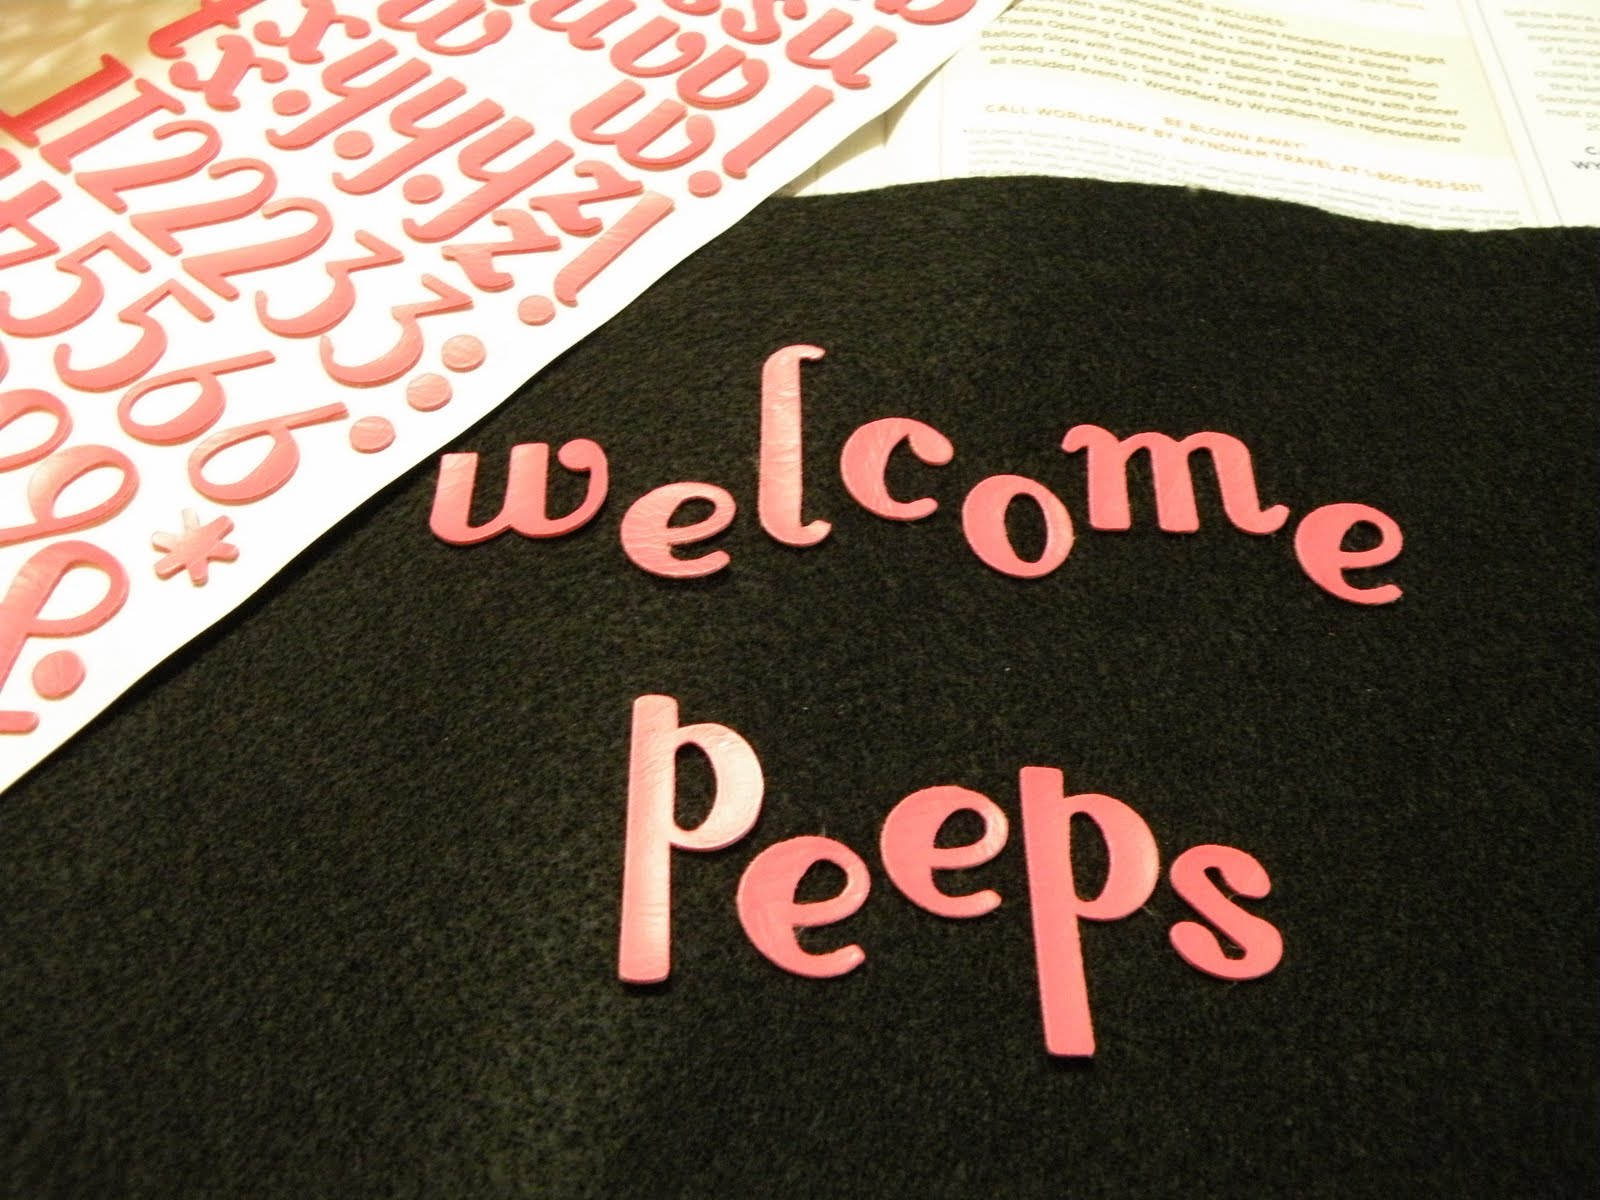
….took a little bit of yellow spray fabric paint, and removed stickers to get this….

If I had it to do all over again, I would have waited, and added a second coat. That felt really absorbs! A day later, I took some hot pink fabric, and cut a “circle” to go on the back of my decorative wire hanger.

I adjusted the polka-dot ruffles just enough to achieve that unadjusted look; then I took the glue gun to it. I flipped it over, and used my glue gun to add another layer of ruffles, hot pink of course. I added a little decorative black stitch around the edge of that one.

I decided my decorative wire hanger needed some more polka-dots, so I used the glue again to add another layer of ruffles. Then, I took my painted felt, and cut a rough circle around the words, and smacked it on there in the middle-ish. I used yellow and pink adhesive felt to create my little peep friends. I will avoid the details and photos of that process. Peep is a 4-letter word! That chick had to be redrawn (swear) and redrawn (swear) and….you get it! I added some ribbon and fabric strips to use as a hanger, and here you go!


Things I learned:
Felt absorbs, A LOT!
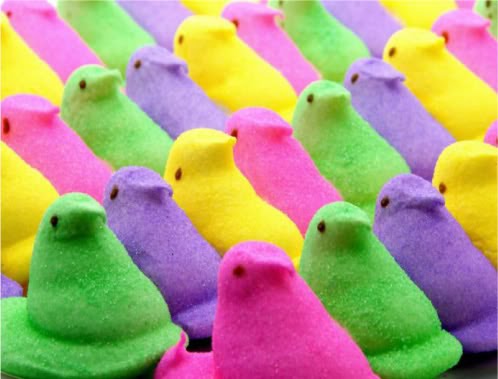
Peeps are fun to eat, lame to draw!
Wire hangers have a much nicer life, post-cleaners.
I LOVE the texture of felt…I have some ideas for future projects SOON. In fact, I have so many, I would change my blog to “Baby.Got.Felt.” if I didn’t think it would draw a bad crowd.
Come by my BLOG for a visit, and watch for an upcoming “Followers Only” contest!
No comments:
Post a Comment